I have been wanting to try out ChromeOS for quite a while. I worked on compiling my own version with some added hardware support a while back, but never really finished it. Lately the old Macbook Air has been having some issues with bogging down when running a lot of browser tabs. So, I started looking into ChromeOS again.
I saw that Hexxeh was able to get it running on the newer Macbook Air 3,1. I have the Macbook Air 1,1 with 1.6ghz Dual Core. His post mentioned that someone tried it on an earlier version of the Macbook Air but it failed to recognize the Wifi card because of the lack of support for the broadcom drivers. His post also mentioned that nVidia’s GPU drivers don’t work very well under EFI so you will have to install to the local disk.
Since then Hexxeh has rolled out ChromeOS Lime (Which is badass) it has added additional hardware support. One of the key features is the support for the broadcom wifi drivers (BCM43XX). I took a look at my Macbook Air and sure enough, it has a bcm43xx broadcom wifi card so I decided to try running Lime on it. To my surprise it worked, and worked well.
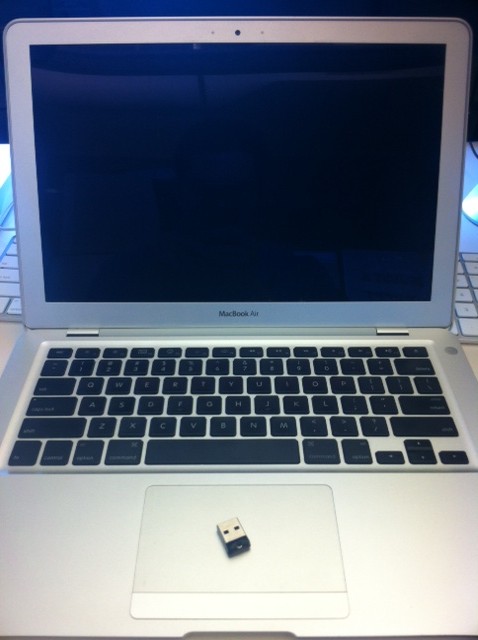
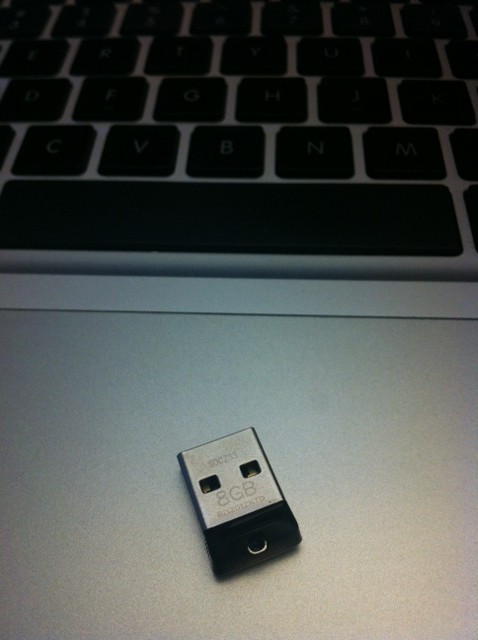
First I didn’t want a huge flash drive sticking out of the side of my Macbook Air so I ordered a tiny usb flash drive from Amazon. Can’t beat 10 bucks. http://www.amazon.com/SanDisk-Cruzer-Flash-Drive-SDCZ33-008G-B35/dp/B005XVC4VE/ref=sr_1_1?s=electronics&ie=UTF8&qid=1332528427&sr=1-1
Once that came in, I installed the latest version of Lime 3/22/2012 using the super easy chrome install tool. This took about 10 minutes.

I booted it up holding down the “option” key until I saw my disk choices to boot from. One thing I did was I checked if I was able to connect to the wifi from here.
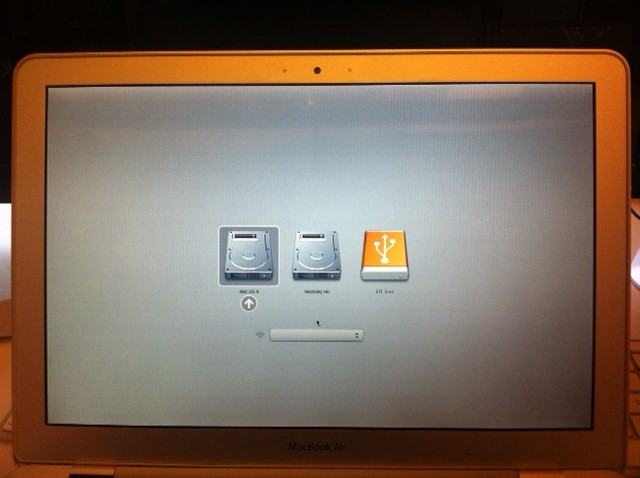
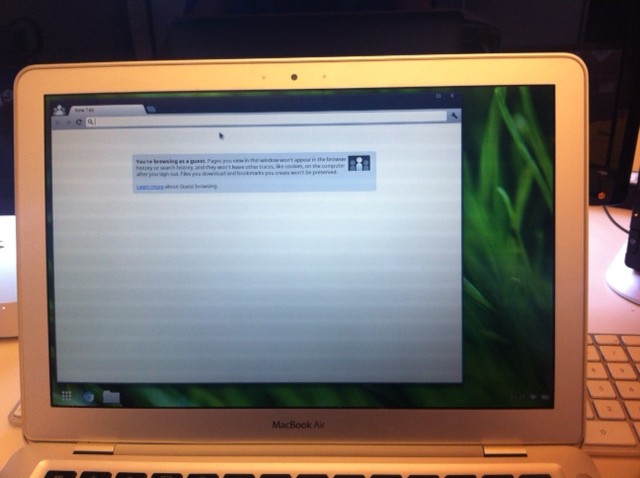
Once I was connect to the AP, I then proceeded to boot off of the USB Drive. Like it said in his post it takes 20-25 to get to a login screen, which isn’t all that bad. Once you get the login screen you are good to start “Chroming?”.
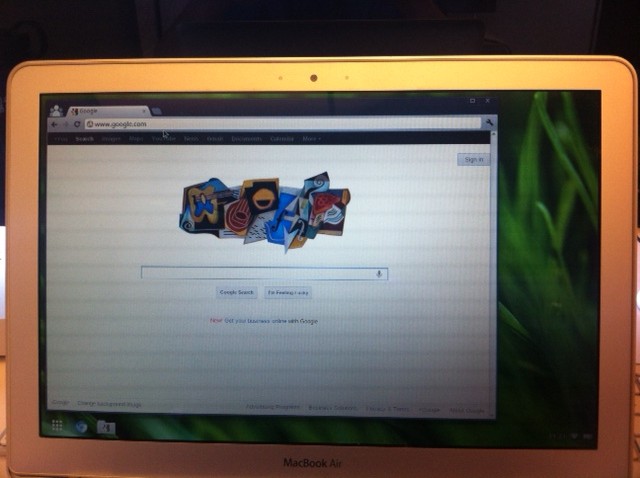
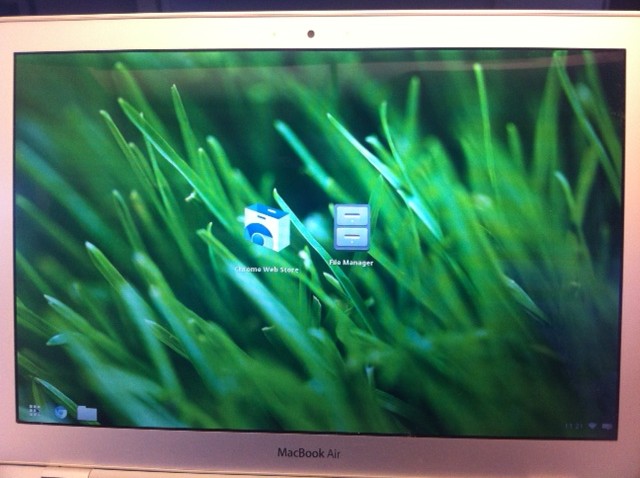
I was pretty surprised on how much of the Mac key functionality worked. Even the camera worked. The only thing that I could find that didn’t work was the keyboard illumination, which is no big deal. Also, the touchpad has it’s quirks as well.
The thing that I found strange when using this was the lack of Flash support. After poking around some of the chrome forums it looks like they removed the chrome driver recently, which really sucked. So now you can only watch 1/3 of youtube videos. I hope we can get the Flash back in the Lime build. (libflashplayer.so) Also when watching HTML5 videos on youtube there are weird orange pixel interference which can be very distracting.
All in all, this is pretty rad and hopefully this post helps some other people breathe some new life into their old Macbook Airs.
-C4